As summer approaches many Colorado homeowners are gearing up for summer home renovation projects. With so many options for upgrading your home, where should you start? When it comes to home exteriors, it can often be beneficial for projects to be done at the same time. Of course, for many homeowners a full exterior renovation doesn’t always fit the budget. So if a homeowner is hoping to renovate their home’s exterior one project at a time, there is no required order of operations. However, there is a project order which tends to make the most sense based on the processes involved in each project. The key is to be open and honest with your contractor about the projects you are wanting to get done. A good contractor will work with homeowners to create a plan for completing home renovation projects.
Start with Window Replacement

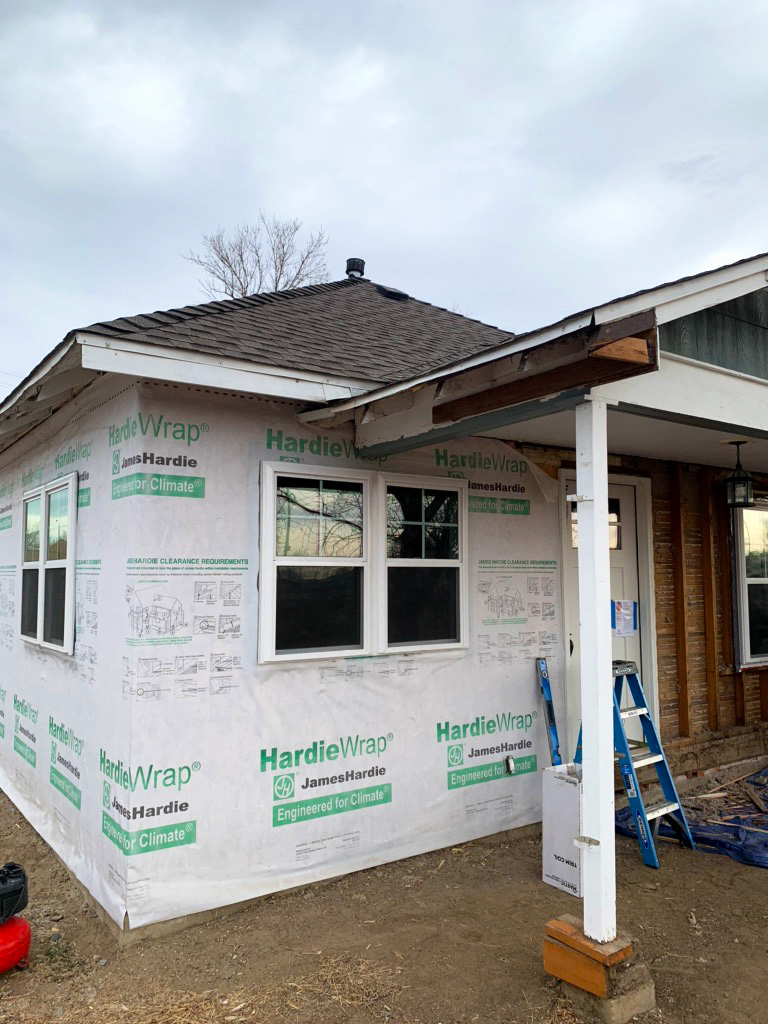
When starting a summer home renovation project window replacements are a great place to start simply due to the general standard operating procedure. As part of the window replacement procedure, the trim around the window typically is removed to provide the best weather protection.
Particularly, as part of our installation process we install different types of internal weather proofing which is best installed when the trim is removed. First we adhere what is called Butyl tape to waterproof the window sill plate and prevent moisture damage to the structural framing. This essentially tapes down any connecting points from the window sill and the framing which is meant to keep water away from the wood framing of the window.
Then we install head drip flashing to the top of the window to add an additional element of waterproofing. This also needs to go underneath the trim and the siding. The purpose of this element is to keep water out or, if it happens to get in, to provide a place for it to escape. If water does get under the siding, the head drip flashing, and the window work together with gravity to roll the water out from underneath the siding. Once the head drip flashing is installed then the exterior trim can be re-installed or replaced.
If you are replacing both:
Replace Your Siding. Then Replace Your Roof
After windows are replaced, if a homeowner is planning to replace siding and roof as part of their summer home renovation, we would prefer to start the siding next. As a roofing and siding contractor, this is our preference for two reasons.
Don’t Stand on a New Roof

First, sometimes a home will have multiple roof elevations requiring siding installers to stand on the roof to complete the siding installation for certain sections. If a roof is new, it is typically not a good idea to be standing on the new shingles, or placing any materials on it. Walking on a new roof can cause damage to the roof, especially in hot weather. When newly installed asphalt shingles sit under the hot sun the shingles typically soften up. Walking or placing materials on a warm asphalt roof can damage the shingles once they soften up, displacing the granules or the shingles themselves. This damage won’t always happen but if it’s possible, a good contractor will definitely not want to create damage to a new roof.
Don’t Bend New Drip Edge
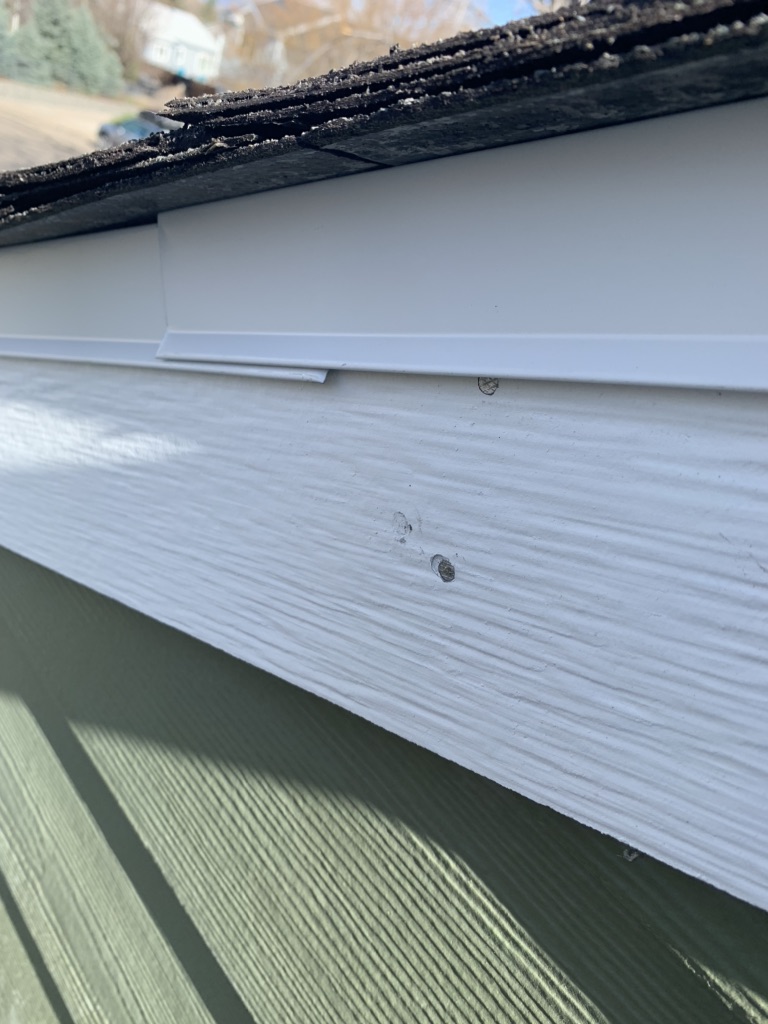
Additionally, a good contractor should recommend replacing siding before the roof because of the roof drip edge flashing that sits on the fascia of the home. Fascia is the board along the side of the roofline which helps the roof appear finished. Fascia board is part of a siding installation. The drip edge flashing is metal flashing installed on the edge of the roof to push water away from the side of the home and to keep water from entering the roof or siding at the edges of the roof.

Pictured here is white drip edge over white fascia. This typically hangs down and covers about 2 inches of the fascia board. If siding is installed after the roof, the drip edge will either need to be manipulated and bent or repaired to complete fascia and siding installation. Thus, it is completely possible to install siding after a roof and a new drip edge but it would be causing damage to a new product unnecessarily. Installing new siding and fascia first, and then the new roof is the ideal order of operations.
Replace Your Roof then Your Gutters
If a homeowner is planning to replace their gutters, we generally recommend starting with the roof then do the gutters next. However, gutters do not have to be replaced with a new roof. Roofing is done everyday without replacing gutters. With that said, if gutters are being replaced, most roofing contractors would prefer to tear off the gutters with the old roof. Then install the new roof and the new gutters once the roof is completed. Then there would be no need to manipulate the drip edge around gutter hangers.
The new gutter trays can be tucked up and installed through the drip edge face and into the fascia.
Summer Home Renovation:
Work with your Contractor to Make a Plan
When planning exterior renovations, each element can be replaced or manipulated to accommodate the order of project completed. But with good planning, a contractor can save time and labor which, of course, can save you money. Every project is different but the order can be critical to achieve the best result for your project and end goal. Following an order for your projects can prevent unnecessary damage to newly installed components, helping to ensure the home is built to last.
Be open and honest about your short and long term plans for your home and a good contractor can help you create the best plan for your home renovations to save you time and money. Reach out today and we can do a free inspection of each of these aspects of your homes exterior and create a plan with you for your next summer renovation.